The system repair disk isn’t really a disk at all. You probably use a thumb drive as a post to an optical disk or floppy disk. You use the system repair disk to start your computer in times of an issue and hopefully fix the problem. In this article, I will show you how to create a system repair disk in windows 10.
Creating a System Repair Disk in Windows 10
Grab yourself a thumb drive or a media card and insure that it’s capacity is at least 8 GB.
Stick the thumb drive into a USB port, if you are using a media card insert it now, inure that thumb drive doesn’t store anything you need. The process of creating a system repair disk erases the media.
Dismiss or ignore any notification that pops up after you insert the system repair disk media.
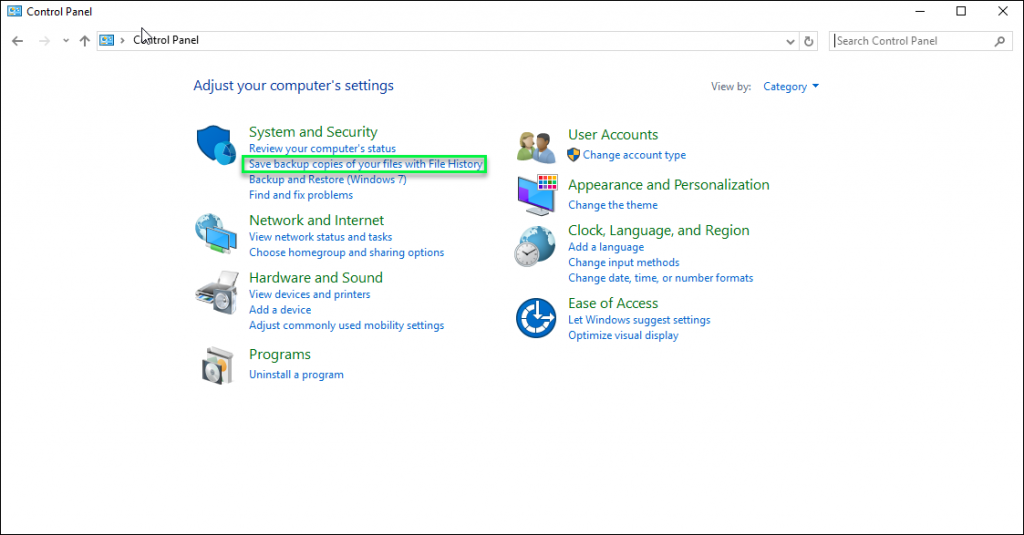
To create a system repair disk in windows 10, get into the control panel. To open the control panel, press the windows key + x and choose the control panel.

Under the system and security setting, choose save backup copies of your files with files history. File history is an important feature to activate and I strongly recommend you to use file history or some other forms of backup.
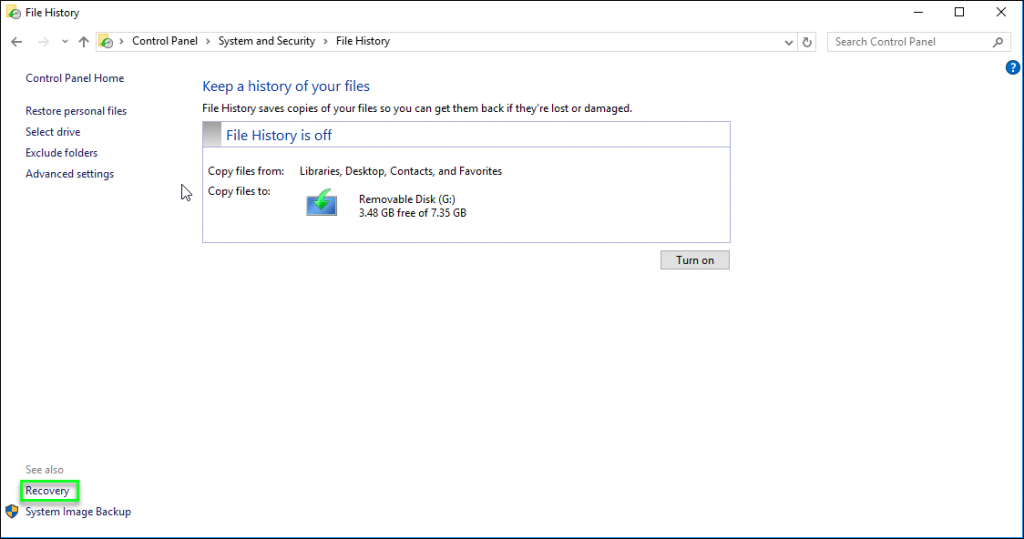
Then choose the option recovery item.
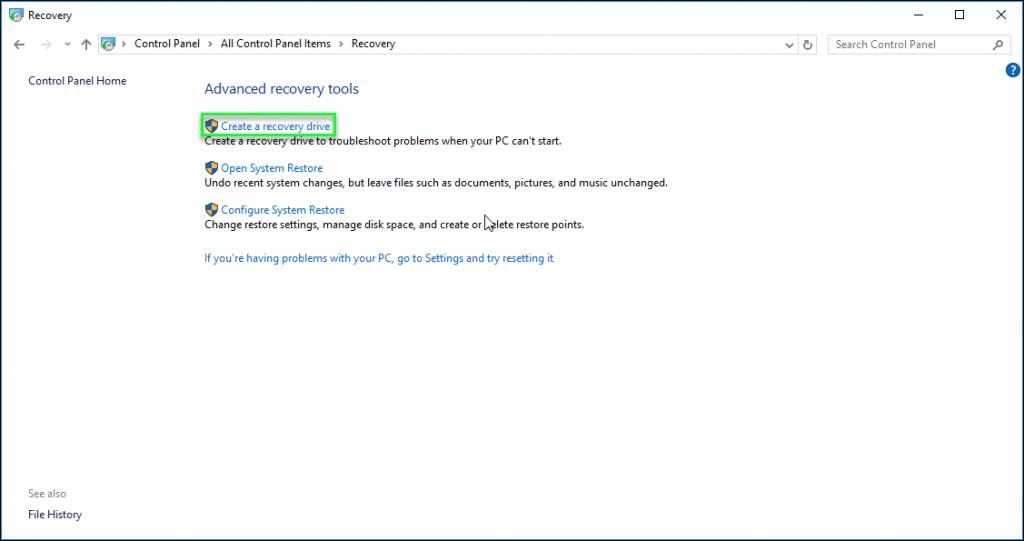
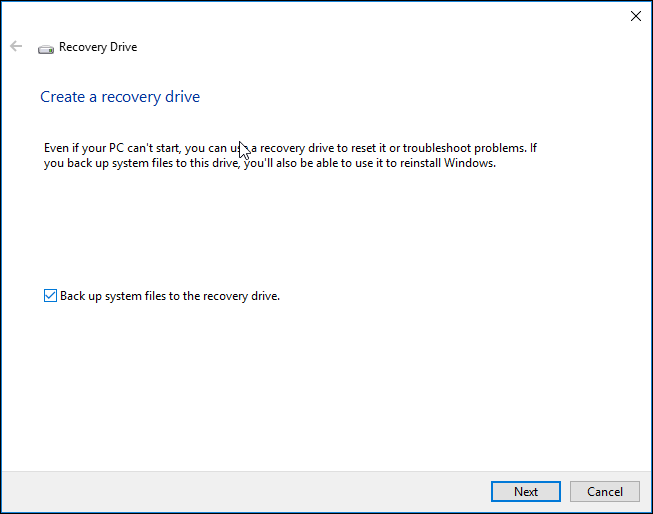
Click the link create a recovery drive.
Click yes to confirm, ensure that the option back up system files to the recovery drive is checked. That way windows system files can be recovered from the system repair disk media, click the next button. Wait the system calculates how much storage you need, it then displays the available media that you already attached in your PC, choose that drive and then click next.
You will be reminded that the media will be erased, click the create button, windows builds the recovery disk, this process takes a few minutes.
When completed you see that the recovery drive is ready, click finish.
The system repair disk is bootable media, you can use it to restart your computer, to try out the disk keep the media attached to your PC and restart windows.
When the computer restarts you want to hit that special key to enter the boot menu, depending on your system, in my system it’s f12, on some computer it could be f2, could be f10 you have to hit that key as soon as the startup page appears to get in the boot menu.
The boot menu will look different on your computer; you will see a list similar to the picture shown below.
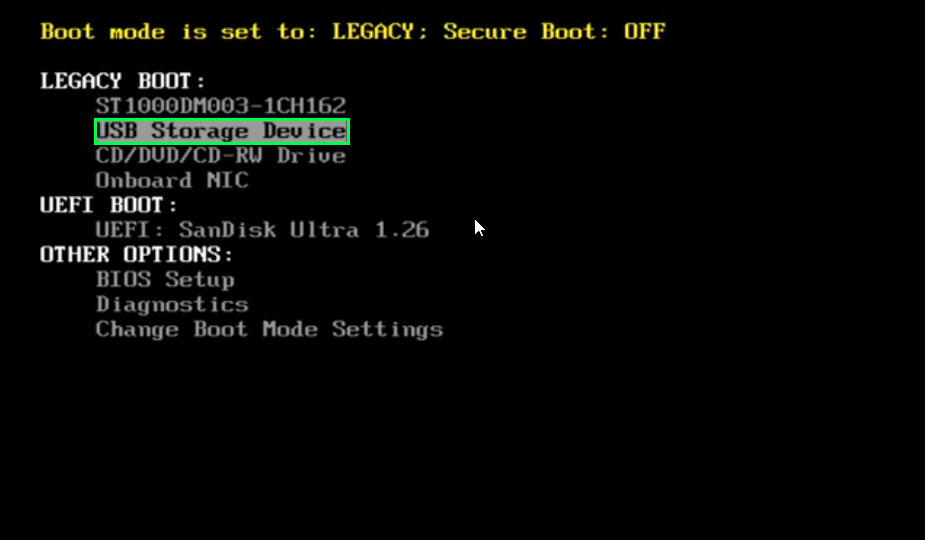
On this one the LEGACY BOOT, USB Storage Device is the one you want, choose and press enter to restart the computer from that disk. Your PC will be booting from the system repair disk.
After selecting your preferred language, what you see is the repair mood menu which is very similar to the windows recovery menu. The tools here help you diagnose and repair any problem with the system storage primary device when it doesn’t work and it won’t come online and won’t run the operating system, this is how you would repair it.

At this point here assuming that you don’t have any problem to shoot, you can choose the continue option to start windows normally. Make sure that you have labeled that as the system repair disk and you know when to use it and you know when to find it, should you ever need it.