When your PC does not perform well and you become frustrated, initially you would try swapping out some hardware devices like graphic card, or replacing a hard drive, and yet the computer still malfunctions. One thing you can check without having mass with the hardware is the computer’s memory. In this article I demonstrate how to check the memory problems in windows 10.
Memory diagnostic is a tool to help you check your PC’s RAM to ensure that it’s functioning properly. Indeed, the memory diagnostic may not fix the problem but it will eliminate the computer’s main memory as a potential source.
How to Check the Memory Problems in Windows 10
To run the windows memory diagnostic, first insure that no programs are open and everything you want to save is saved, and tap the windows key and type memory diagnostic, Then choose windows memory diagnostic desktop app.

Now you have two options: restart now or you can choose the second option, check for problems the next time I start my computer. Choose the first option restart now and check for problems. Windows shuts down and the computer restarts.

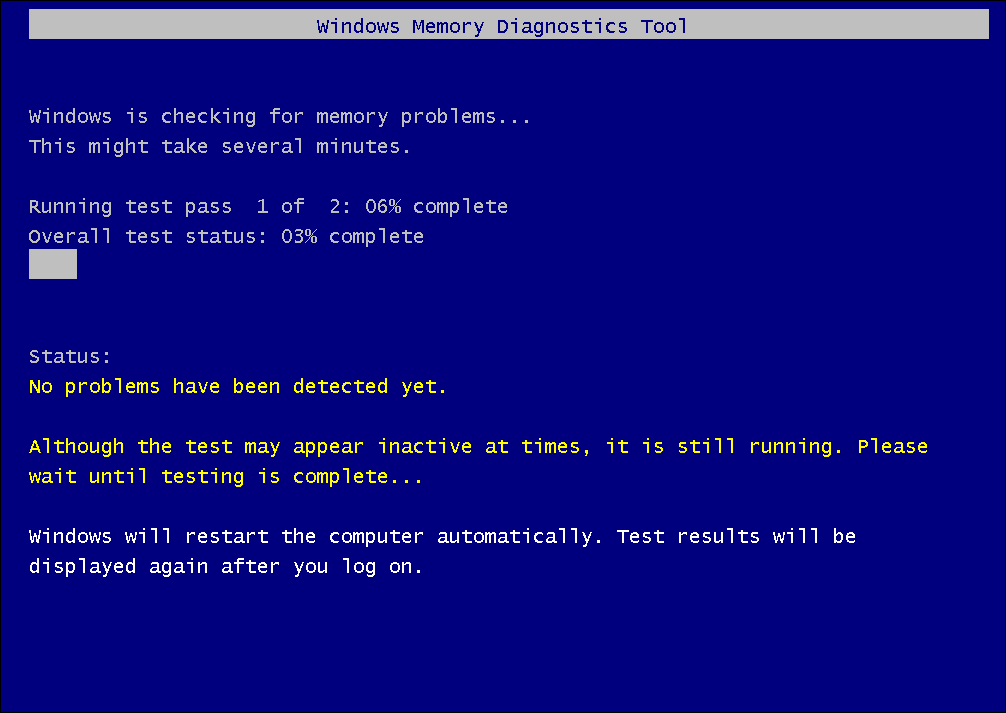
When it’s done, it runs the memory diagnostic. The screen is informative, If any errors are detected, you will see a notice immediately, otherwise the program progresses. It takes a few minutes to complete, when the diagnostic is complete the computer restarts again.

Go ahead and sign in into windows, after signing in you will see a notification of memory diagnostic that will appear on the screen.
Now in my computer now memory errors were detected. If the memory errors were detected, replace the PC’s RAM. You can do it yourself or pay a dealer to replace the memory, while you add it, get more memory in your computer in order to have a better performance on your PC.
If the memory wasn’t the problem, you need to continue troubleshooting, but at least you move forward and know that the memory wasn’t the cause of whatever else the computer.

