
The root of PC trouble is change. Microsoft recognized that change happens unexpectedly. So they included a tool to help unwind the clock. It’s called System Restore. The System Restore feature provides a quick backup of vital system settings. It creates a restore point. If anything goes awry in the system, you can use the restore point to bring back the computer into its previous working condition. That’s the theory. And the feature works quite well. In this article I cover how to restore your computer using system restore. So well in fact, that System Restore takes place automatically in Windows 10.
How to Restore Your Computer Using System Restore
Whenever you install new software, a restore point is created. If anything unexpected happens due to that change, you can run System Restore to recover. And to recover and restore your computer follow the steps below:
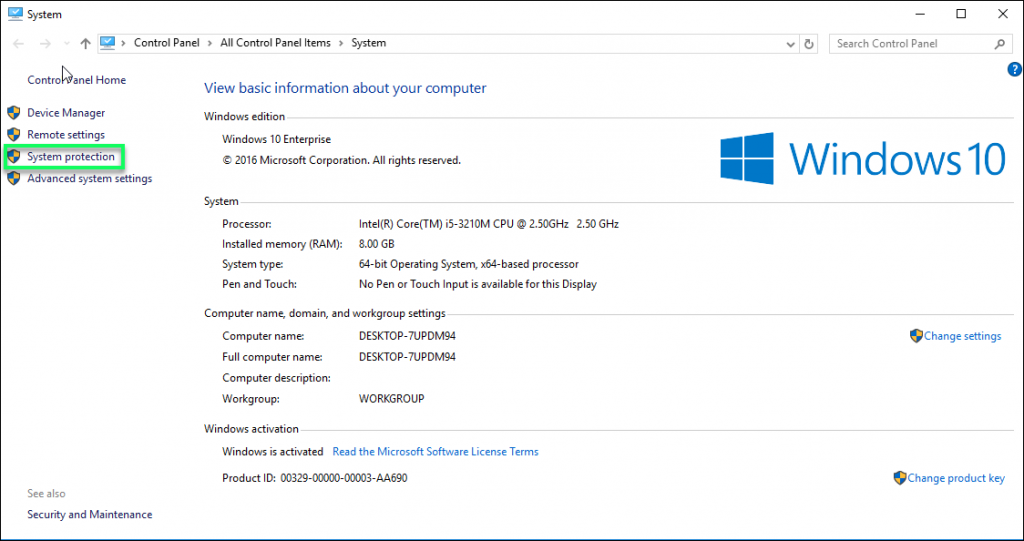
Step 1: To do so, or to check on System Restore, press the Windows and Break key combination to bring up the System window.
Step 2: Choose System protection to view the System Properties dialog box.
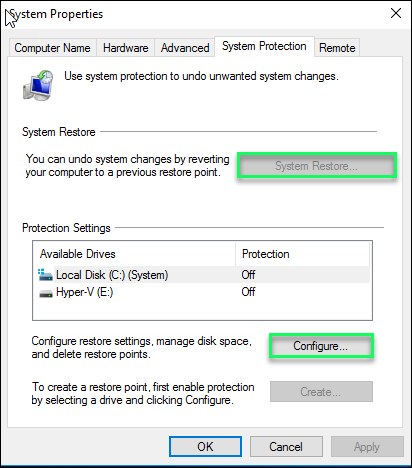
Step 3: Click the System protection tab if it’s not automatically shown. If System Restore isn’t active, then the button is dimmed. To activate it, click the Configure button.
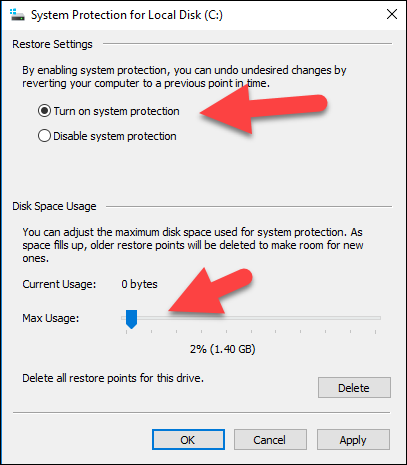
Step 4: Choose turn on system protection, set the amount of disk space to use, then click OK.
To review any system, restore points or to restore the system in previous stage, click system restore button, if no points are set you will see a warning click the cancel and then create a restore point first, otherwise click the next button.

So in this case you need to create restore point first. The process is given below.
How to create a restore Point?
Window 10 does a good job of creating a restore point, you can create it manually anytime. For instance, you can create a restore point before installing a new hardware, Follow the steps below to create a new restore point.
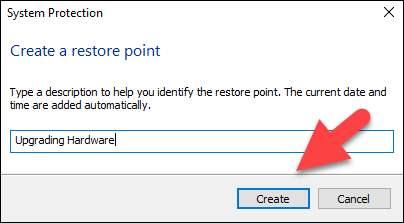
1. From the system properties box click Create button

2. Type the description and then click crate button. Windows saves the information about the current stage of your system.
3. Click the close button to complete creating the restore point.
You see a list of store points and you can click show more options to view a lot, if you need to restore the system, select the recent restore point and the most recent one can be your best choice.
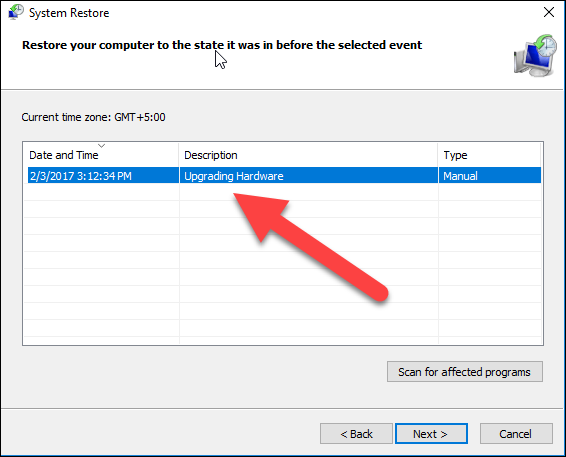
Choose the restore point and click the next button. To restore the system, click the finish button.
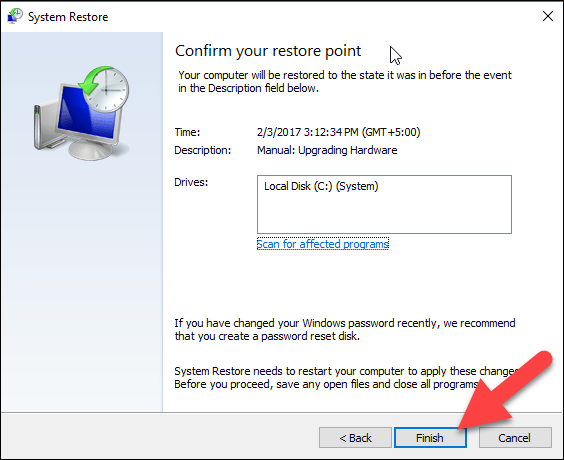
Windows will shut down and upon the restart your system is restored. When you see the message that the system is restored on that time the process of restoring is complete.
How often you should create a restore point? Not often frequently, only when you are upgrading hardware. Generally speaking, windows create its own restore point when you install a new software or when you update the windows.
How to Restore a System From System Recovery Menu?
If for some reasons a new update prevents the windows from restarting, then you can run system restore utility from the system recovery menu. At the windows recovery menu.
- Choose troubleshoot

2. Advanced option
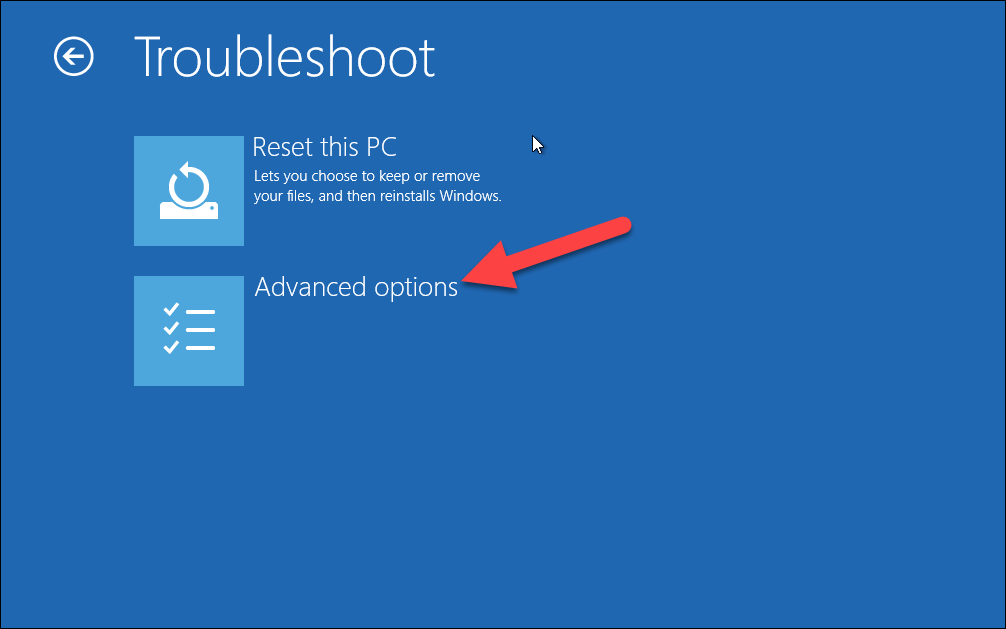
3. Choose System restore

System restore is a great tool but it’s not substitute for backing up your system files or for creating a system image.